
Kitchen Worktop Sanding: Transform Tired Timber into a Fresh, Food-Safe Surface
If your wooden worktops are beginning to look tired—water rings around the sink, a grey haze instead of a warm glow, faint ripples where cutting boards have lived too long—there’s a good chance they don’t need ripping out. They need careful, methodical restoration. This guide walks you through the full process of Kitchen Worktop Sanding from first inspection to final buff, so you know exactly what to expect, what to avoid, and how to end up with a surface that’s beautiful, food-safe and built to last.

What “restoration” really means (and why it works)
Wood is forgiving. Unlike laminates or composites, solid timber and high-quality veneered worktops can be renewed by removing a thin layer of damaged fibres and rebuilding protection with oil, wax or varnish. The trick is to do this in a controlled sequence. Restoration isn’t just about running a sander over the surface; it’s about diagnosis, preparation, dust-smart sanding, edge detailing, careful finishing, and slow, patient curing. Get those stages right and most stains, scratches and light cupping disappear, revealing fresh grain that looks better than new because it carries the character of age without the wear.

Is it time to restore your worktop?
You don’t need to wait for deep gouges before acting. These are the common signs:
- Persistent dark patches around the sink or hob where the old finish has failed.
- A dry, thirsty look: oil no longer soaks in evenly, leaving pale and blotchy areas.
- Raised grain or minor ripples that catch a cloth as you wipe.
- A flat, chalky sheen—often from years of harsh cleaning products.
- Edge damage from pots, pans and plates; sharp corners that have picked up knocks.
If any of these ring true, it’s time to consider Kitchen Worktop Sanding.
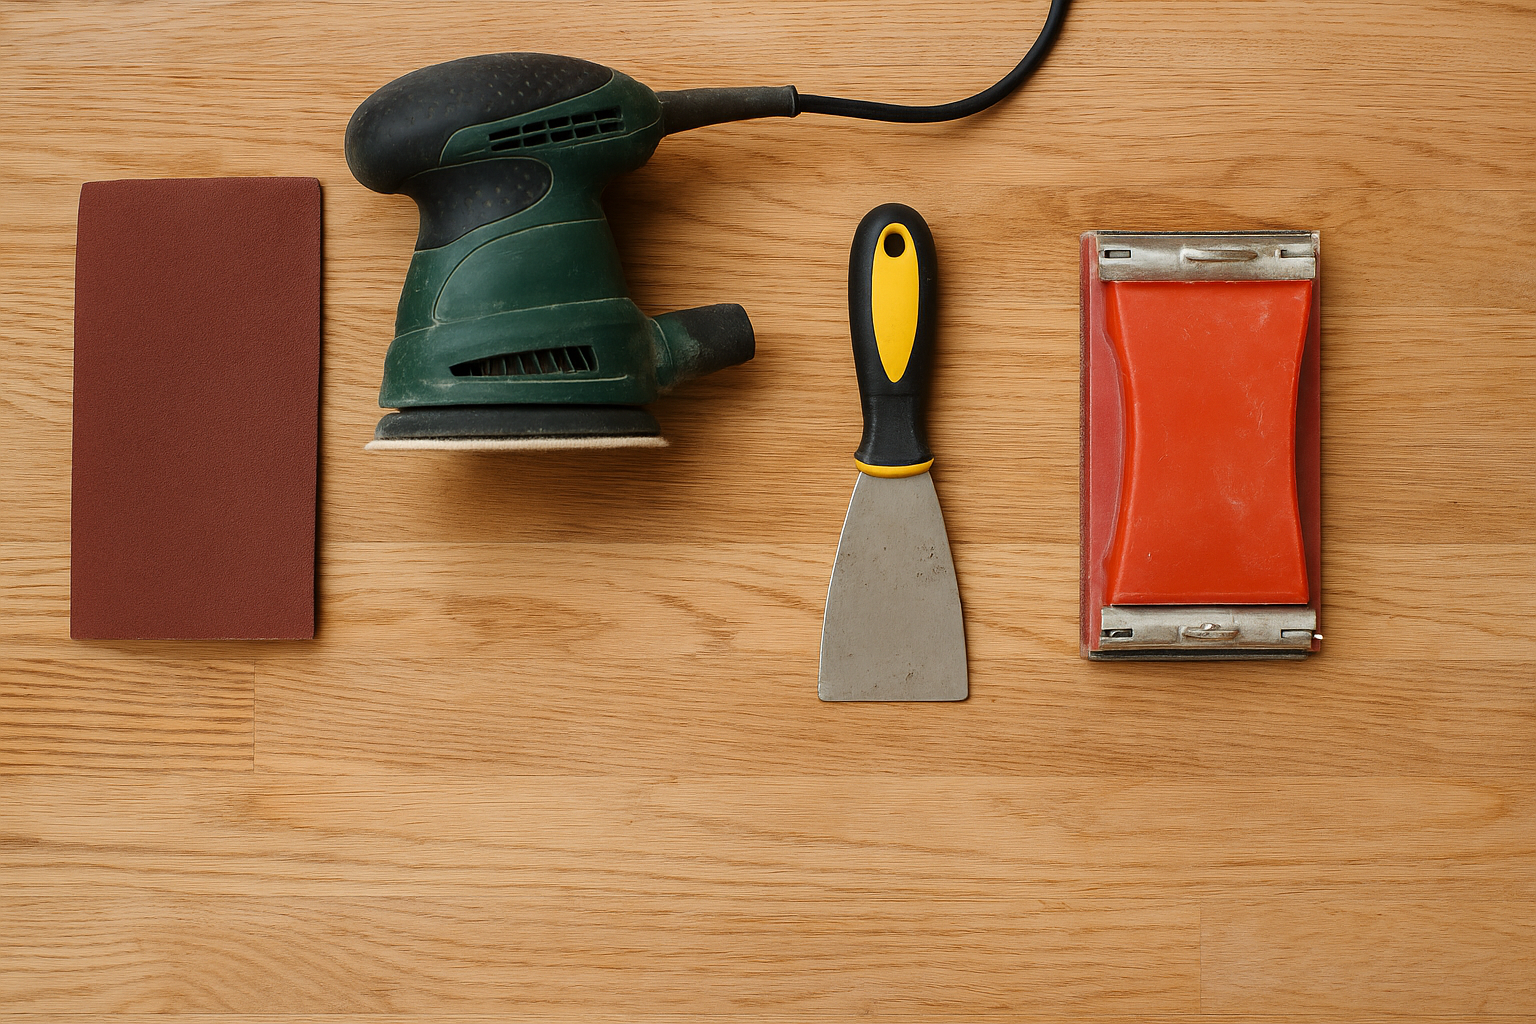
Tools and materials you’ll need
Safety & prep
- Dust mask (P2 or better), safety glasses, hearing protection, tight-fitting gloves
- Plastic sheeting and low-tack tape for doorways and cabinetry
- Vacuum with HEPA filtration (a must for fine dust)
Sanding & shaping
- Random-orbital sander (125–150 mm) with hook-and-loop pads
- Detail sander or sanding block for corners and upstands
- Fresh abrasives: typically 80, 120, 150, 180 and 240 grit
- Cabinet scraper for localised defects
- Sharp block plane for easing edges (optional)
Repairs & finishing
- Two-part wood filler or tinted wax sticks
- Colour-matched wood plugs/dowels (for old screw holes)
- High-quality finishing oil (hardwax oil or food-safe mineral/plant oil), or water-borne varnish
- Lint-free cloths, microfibre pads, and a clean paint tray
- White Scotch-Brite or maroon finishing pads
- New silicone for sink perimeters if the old bead is tired
Preparation and safety: set yourself up for success
- Clear, clean and isolate. Remove all small appliances and cover open shelves. Mask doorways with plastic to keep dust from drifting through the house.
- Protect adjacent surfaces. Tape along tiles, upstands, and painted panels. Remove old silicone at sinks if it’s brittle—re-bead after finishing.
- Check for fixings. If you suspect hidden screws or metal brackets near the surface, locate and mark them. Even a shallow screw head will ruin a sanding pad.
- Dry the timber. If there’s been recent spillage, allow the worktop to dry completely. Sanding damp wood clogs abrasives and opens the grain unevenly.
- Ventilate wisely. Keep windows slightly open to exhaust dust but avoid strong draughts during oiling and curing.
Step-by-step restoration
1) Diagnose the timber and finish
Identify the wood (oak, beech, walnut, iroko and bamboo are common). Oak can blacken around water due to iron reactions; beech shows a paler pink-grey when oxidised; walnut hides small marks but shows scratches as lighter streaks. Work out what was on there before—oil usually feels matte and “dry”; varnish feels harder and more plastic. This informs both your starting grit and your choice of new finish.
2) Remove fixtures and level the playing field
Take off sink grates, pop-up sockets, trivets and any temporary accessories. If you have wooden chopping boards permanently sited on the surface, move them off so everything weathers evenly. Where the worktop meets an upstand, slide a card under the sander edge to avoid scuffing the vertical.
3) Local repairs before you sand
Tackle worst-first defects. Dark iron-tannin stains in oak can sometimes be lightened with an oxalic acid wood restorer (follow the product’s safety instructions exactly, and neutralise afterwards). Lift shallow dents with a damp cloth and a medium-hot iron—steam swells compressed fibres. Fill deeper chips after your first sanding pass, not before; you’ll get better adhesion and colour accuracy on freshly abraded wood.
4) The first sanding pass: cut back the damage
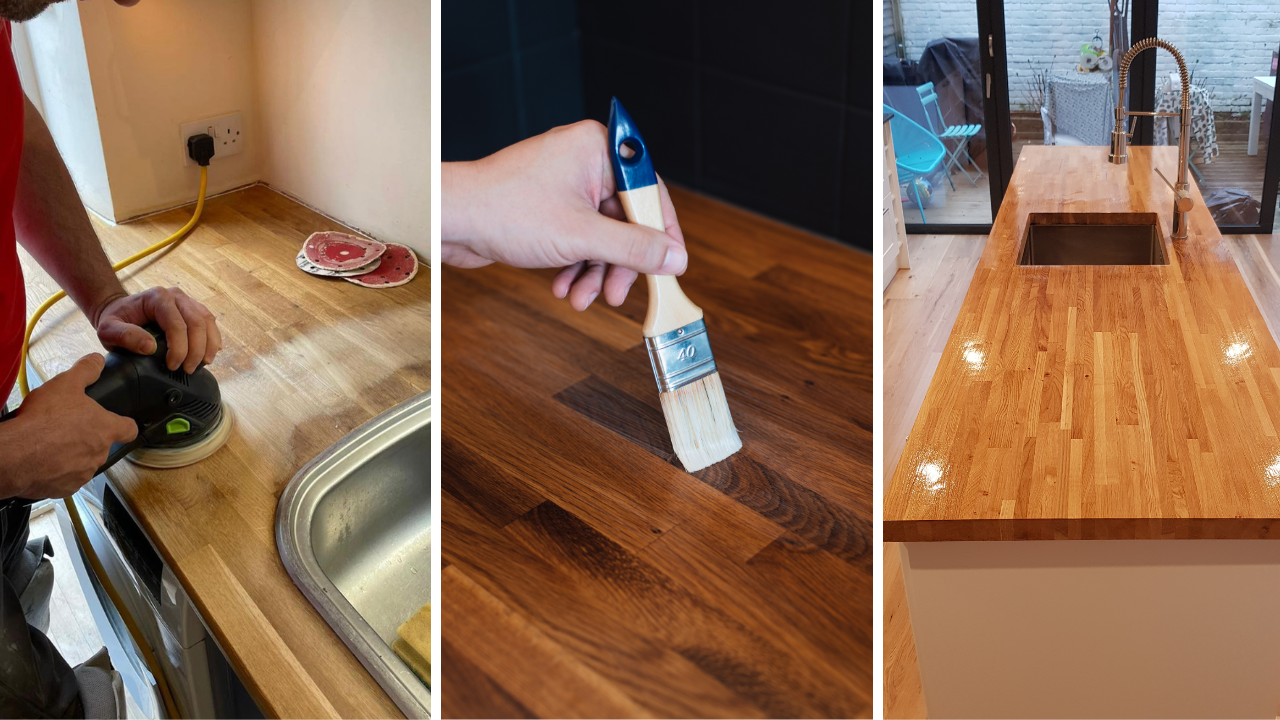
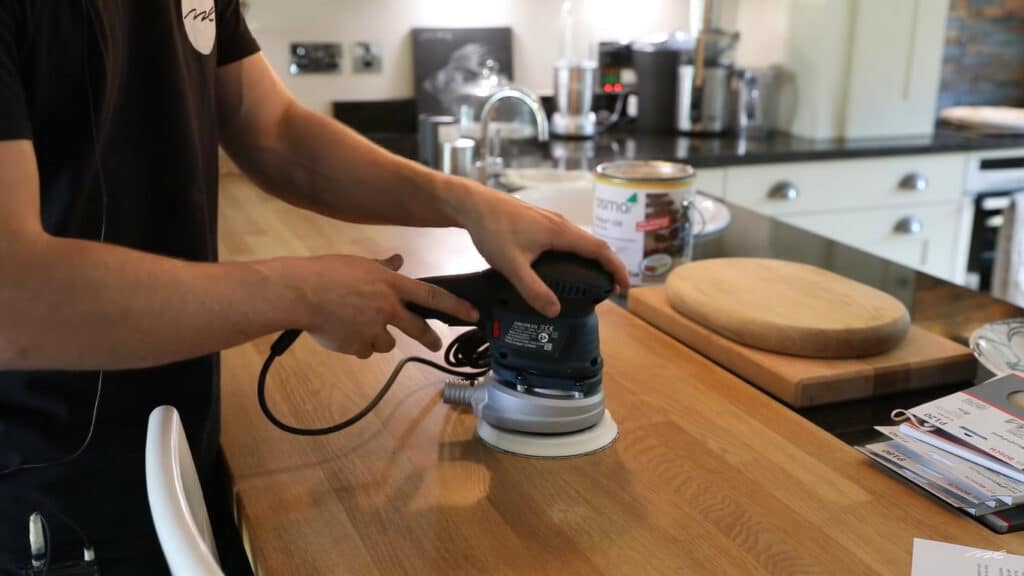
Start with 80 grit on a random-orbital sander. Keep the machine flat; don’t tilt to “dig out” marks or you’ll create divots. Move slowly in overlapping passes—imagine you’re mowing a lawn and you won’t miss spots. Vacuum between passes. For edges and corners, use a sanding block or detail sander, not the nose of the big sander.
At the core of Kitchen Worktop Sanding is smart grit sequencing: if you rush the early stages, you’ll simply polish scratches finer, and they’ll resurface when oil accentuates the grain.
5) Refine the surface: up through the grits
Move to 120 grit to remove the 80-grit scratch pattern, then 150/180, and finally 220–240 if you’re aiming for a silky, modern feel. Vacuum thoroughly after every grit. In awkward zones—tight up to upstands, around sink cut-outs—use hand blocks to keep control. Consistency matters more than speed.
6) Ease edges and soften transitions
A tiny 1–2 mm arris (a softened edge) makes worktops more resilient and nicer to touch. Use a block plane or simply roll the sanding pad over the edge with even pressure. Check where two worktop sections join; level them gently to reduce catch points.
7) Spot-fill and final de-dust
Once you’ve reached your final grit, inspect under raking light. Fill small pits or old screw holes with a colour-matched filler. Let it cure, then level with 180–220 grit. Now vacuum again, wipe with a barely damp microfibre to pick up fines, and allow it to dry before finishing.
8) Apply the finish—thin, even, patient
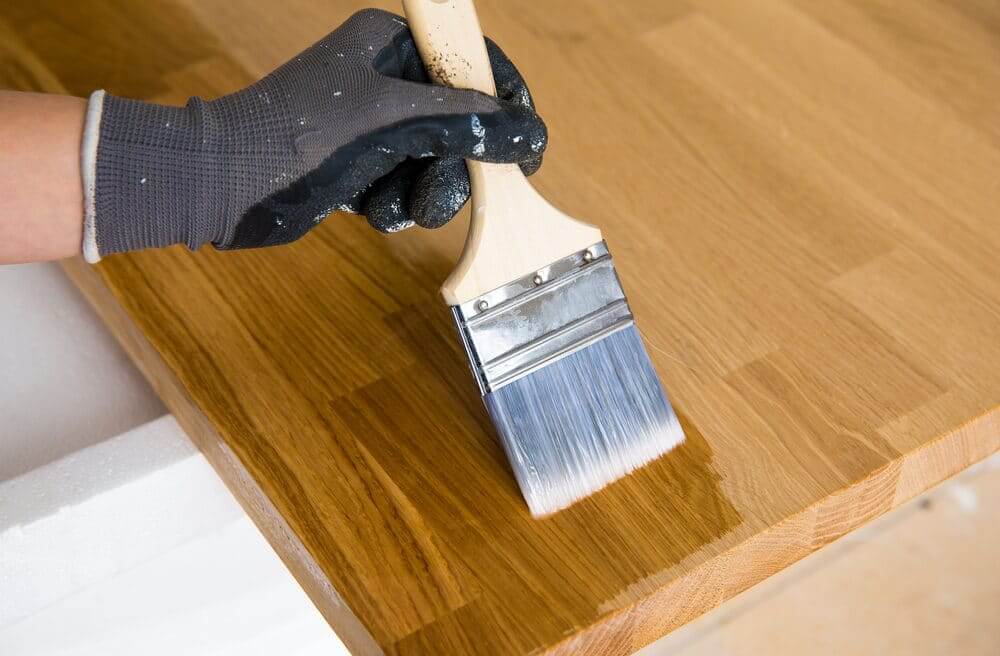
For most kitchens, a hardwax oil or high-solids plant oil balances beauty with practicality. Pour a little into a tray; apply with a lint-free pad or short-nap microfibre roller. Work with the grain and keep coats thin—flooding the surface slows curing and can turn tacky. After 10–20 minutes (check the product), buff off any excess with a clean cloth to avoid shiny patches.
After Kitchen Worktop Sanding, the first coat often sinks quickly; plan on 2–3 coats, allowing the recommended drying time between coats. If you choose a modern water-borne varnish for a tougher, lower-maintenance finish, follow the same thin-coat logic and de-nib lightly between coats with a white pad.
Finishing choices explained
Oils & hardwax oils
- Look: Warm, natural, brings grain to life.
- Feel: Satin to matte, tactile.
- Care: Periodic refresh with a maintenance oil; easy spot repairs.
- Best for: People who love the “real wood” feel and don’t mind light maintenance.
Water-borne varnish (acrylic/polyurethane)
- Look: Clear to slightly cool; can be matte to gloss.
- Feel: From silky to glassy, depending on sheen.
- Care: Wipe-clean convenience; longer intervals between maintenance.
- Best for: High-use family kitchens and rental properties where durability is paramount.
Food-preparation zones
Around the sink and food-prep areas, many owners prefer oil because localised top-ups are quick. If you regularly place hot pans straight down, consider discreet pan rests; no finish is pan-proof.
Curing: the stage most people rush
Touch-dry is not the same as cured. Oils need oxygen to harden; varnishes need time for full cross-linking. Keep heavy use to a minimum for 3–7 days depending on the product. Avoid standing water entirely during this period. Fit a temporary chopping board beside the sink for light washing-up if you must, and wipe any splashes instantly.
Everyday care after restoration
- Daily: Wipe with a slightly damp cloth, then dry. Avoid harsh degreasers; a mild pH-neutral cleaner is your friend.
- Weekly: A quick buff with a microfibre lifts the sheen and removes fine dust.
- Monthly/Quarterly: If oiled, apply a maintenance oil to high-traffic zones (beside the sink, breakfast bar overhang). This takes minutes and preserves that just-finished look.
- Spills: Water is fine—wood hates standing water. Wipe immediately, especially red wine, coffee and acidic sauces.
- Heat: Use trivets for pans and baking trays. Even tough finishes can print or cloud under extreme heat.
Regular care after Kitchen Worktop Sanding doesn’t have to be a chore; it’s a light routine that pays off in longevity.

Common mistakes to avoid
- Starting too fine. If you begin at 150 or 180 grit on a damaged top, you’ll polish the problem in. Start coarse enough to cut back the damage quickly and cleanly.
- Lingering in one spot. Random-orbital sanders remove material fast. Keep moving in overlapping passes to avoid dips.
- Skipping vacuums. Dust between grits acts like rogue abrasive and softens the final look. Vacuum religiously.
- Over-oiling. Thick coats cure poorly and mark easily. Thin on, thin off, patient cure.
- Forgetting edges and seams. A few extra minutes easing edges and levelling joints prevents future chipping.
- Poor masking. It takes seconds to protect an upstand; it takes ages to fix an accidental scuff.
How long does it take—and what does it cost?
Time: A typical L-shaped domestic kitchen (4–6 m of worktop) takes a competent DIYer one long day to sand and a second day to build two to three finish coats, plus curing time. Professionals work faster due to dust control systems and experience.
Cost: Consumables (abrasives, pads, masking) usually run £40–£80. A quality oil or hardwax oil is £30–£60 per litre and goes a long way with thin coats. If you choose a professional service, expect a fixed price tailored to wood species, layout complexity and repair needs—still far less than replacing solid timber.
DIY or professional?
If your worktop has heavy staining around sinks, deep gouges, or complicated joints, a professional will save you time and risk. Pros bring HEPA-rated dust extraction, precision lighting, colour-matching fillers and the experience to push right up to delicate edges without over-sanding. If you’d rather a specialist handle Kitchen Worktop Sanding, bringing your kitchen back to life can be surprisingly quick and tidy.
Troubleshooting quick wins
- Black marks in oak: Often iron reacting with tannins. After sanding, treat locally with a tannin remover/oxalic acid solution, neutralise, then re-sand lightly.
- Patchy oil absorption: Wood density varies. On the first coat, work wet-on-wet for a few minutes, adding a touch more product to thirsty patches before buffing off evenly.
- Raised grain after first coat: Normal with water-borne finishes. De-nib lightly with a white pad before the next coat.
- Hairline seams visible: Warm the oil slightly (manufacturer permitting) and work it into the seam, or choose a slightly higher-build finish for the next coat.
Sustainability notes
Restoring beats replacing. You’ll keep solid timber in service for decades, reduce waste, and avoid the embodied carbon of new manufacturing. Most modern finishing oils are low-odour and low-VOC; many water-borne varnishes are similarly benign once cured. Dispose of oil-soaked rags safely—spread them flat to dry fully or submerge in water in a sealed metal container, as bundled rags can self-heat.

Summary: the anatomy of a perfect restoration
- Diagnose the wood and the old finish.
- Isolate the space and protect adjacent surfaces.
- Repair local defects first.
- Sand in a disciplined grit sequence, vacuuming between passes.
- Ease edges and refine by hand where machines can’t reach.
- Apply thin, well-worked coats of your chosen finish.
- Let it cure—truly cure—before heavy use.
- Maintain lightly and regularly for enduring good looks.
Ready to transform your kitchen?
When done methodically, the results feel almost magical: fresh grain, a tactile surface, and a calm, even sheen that makes daily cooking a pleasure. For a fast, dust-smart, impeccably finished result, book Kitchen Worktop Sanding with a trusted local team, and enjoy the confidence of professional repairs, premium coatings and a finish that’s built to last.